
How to Share Your Calendar on Outlook

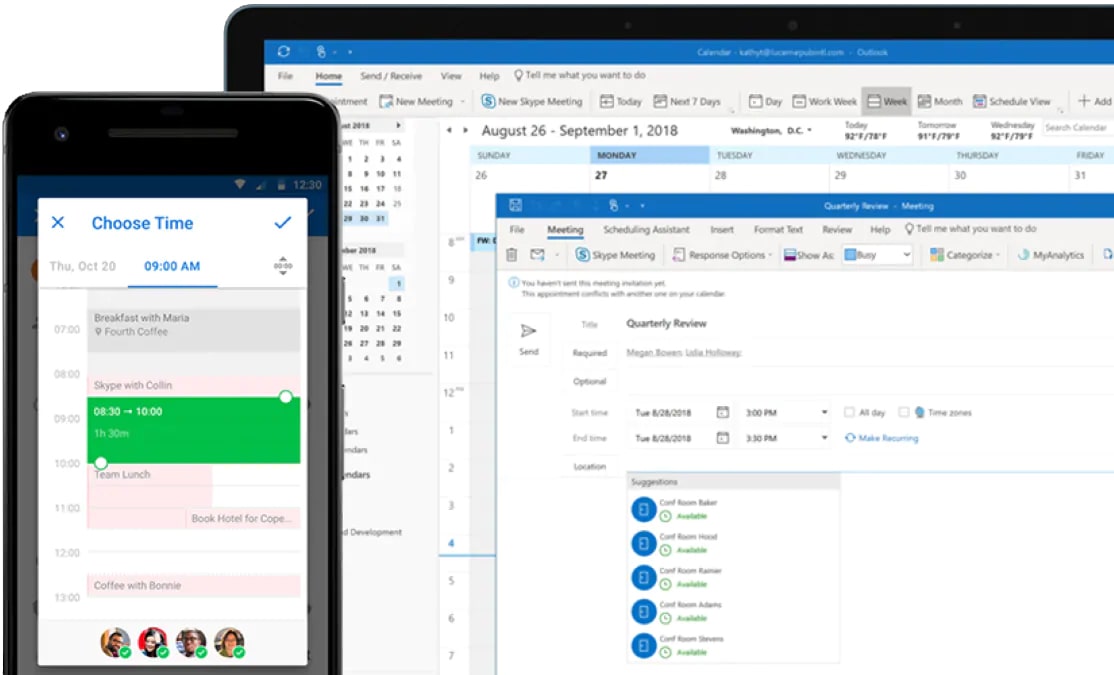
Microsoft Outlook offers many useful features to make your work life easier. Today, we’ll dive into Outlook’s calendar sharing feature, which allows users to view each others’ availability.
As an employer, you know how important it is that your employees are all on the same page. One easy way to do that is to share your Outlook calendar! Sharing your calendar lets select people know your schedule, so that they can efficiently plan meetings, projects, etc. The best part is that you decide how much information that people can see, and who sees it.
There are many customization options available to you when you share your calendar. From the Calendar Properties box, you can dictate how much information is shared and if invitees can edit your calendar. You can also revoke calendar sharing at any time. Outlook’s calendar lets you be in complete control of your schedule, so let’s get into how to access these features!
Sharing Your Calendar in Outlook (2013, 2016 & 2019)
1. From your Calendar folder, on the Home menu, select Share Calendar.
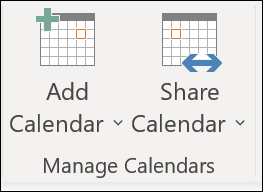
2. Choose the calendar you want to share from the drop-down menu.
3. In the Calendar properties dialog box, click Add.
4. From here, you can choose a person to share your calendar with, or type their email address into the Add box. Once you’ve added all the people whom you want to share with, click OK.
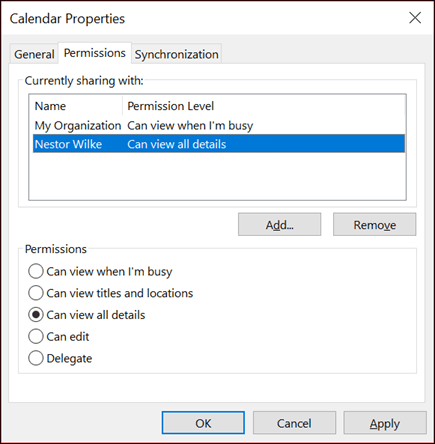
5. Back in the Calendar Properties dialog box, select the person’s name or email address, then choose the level of details that you want to share with the person, then click OK. This will send an invitation to the email addresses that you’d like to share your calendar with.
6. After your recipients accept your invitation, they will be able to see your calendar.
Sharing Your Calendar in Outlook Web Application
1. Find the Calendar button at the bottom of the page.
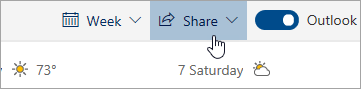
2. Navigate to the top of the page, and select Share. If applicable, you can choose which calendar you’d like to share.
3. Enter the name or email address of the person you want to share your calendar with.
4. From here, you can choose the level of permissions that users can have for your calendar.
5. Finally, click Share.
It is important to note the different levels of permissions that can be granted to other users. Below, we’ll list those levels and briefly summarize each. In Outlook, you can decide if users have access to:
- Availability Only – Contacts will only see when you’re available.
- Limited Details – Contacts will see availability and subject.
- Full Details – Contacts can see the full details of your calendar.
You may want to change the permissions of the people who have access to your calendar. We’ll briefly explain how to do that in Outlook and on the Outlook Web Application.
Changing Permissions in Outlook (2013, 2016 & 2019)
1. Click Calendar.
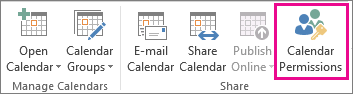
2. Click on Home then Calendar Permissions.
3. Click on the Permissions tab. From here, you can choose specific permissions for each user. After your changes have been made, click OK.
Note: You can also stop sharing your calendar by clicking Remove.
Changing Permissions in Outlook Web Application
1. Click the Calendar button at the bottom of the page to access your Calendar.
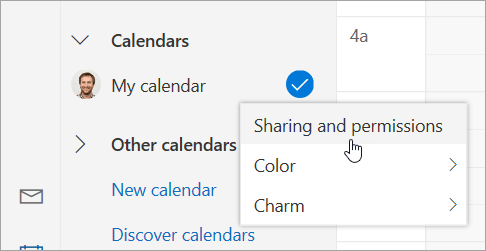
2. Right-click on My Calendar and select Sharing and permissions.
3. From here, you can change permissions or remove people from viewing your calendar.
There you have it! Outlook makes it easy to share your calendar with contacts, change their permissions, and remove contacts from viewing your calendar. Have any questions? Let us know in the comments!